Connecting over the internet and using RDP mode
Print
Modified on: Mon, 16 Oct, 2017 at 6:58 PM
Configuring Viewer
- Start the Viewer app and click Add connection:

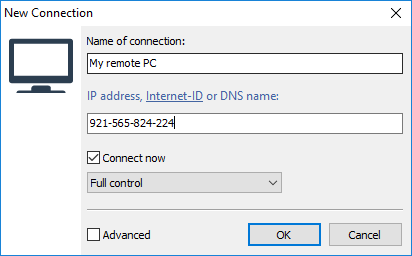
- Enter a descriptive name and the Internet-ID of the Host PC. Select Advanced then Click OK:
- Select RDP, Allow to save login information and enter user name and password of the PC. Click OK:
User name always have "islandpacific\xxxxx" in front, i.e. islandpacific\puser1

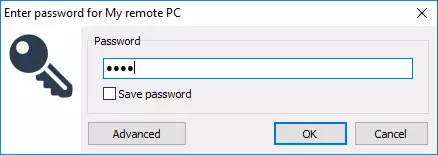
- Enter Host access password in the password prompt, select Save password and click OK:
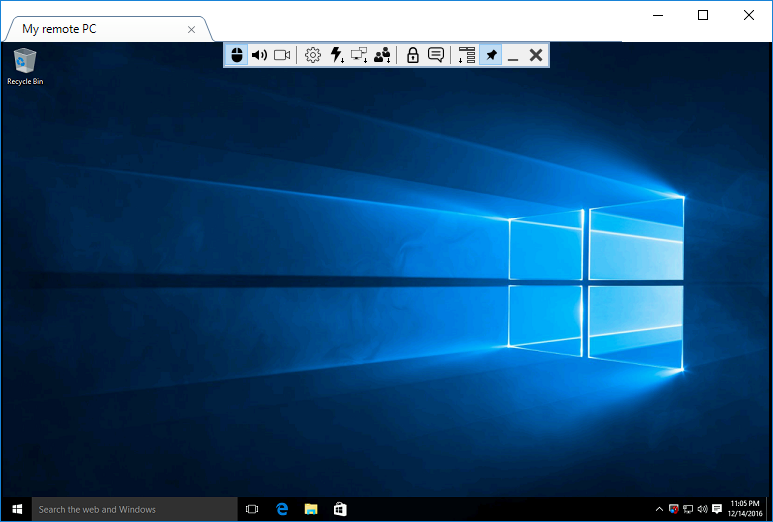
- The remote session will start in the selected connection mode. In this example it’s the Full Control mode:
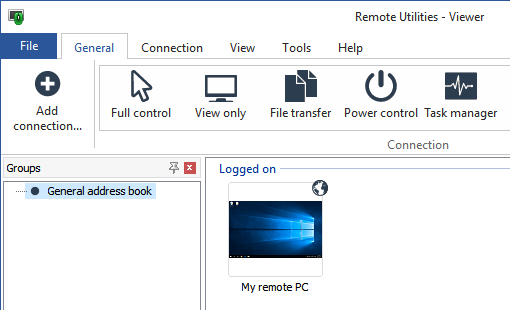
- The connection will be saved to your address book automatically:
Starting RDP session (native Remote Desktop Connection)
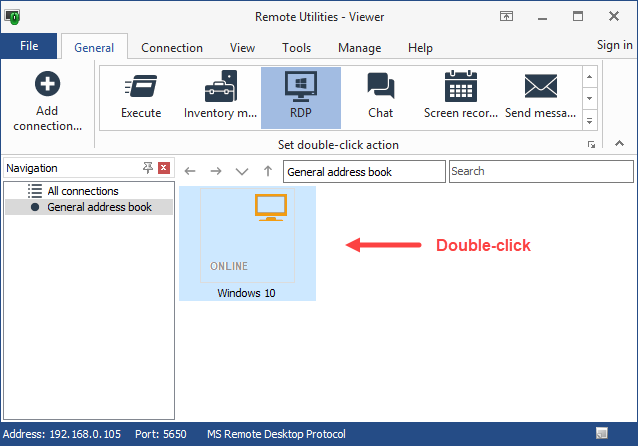
- Select a connection in the address book
- Click RDP on the General tab (the modes panel is expandable):
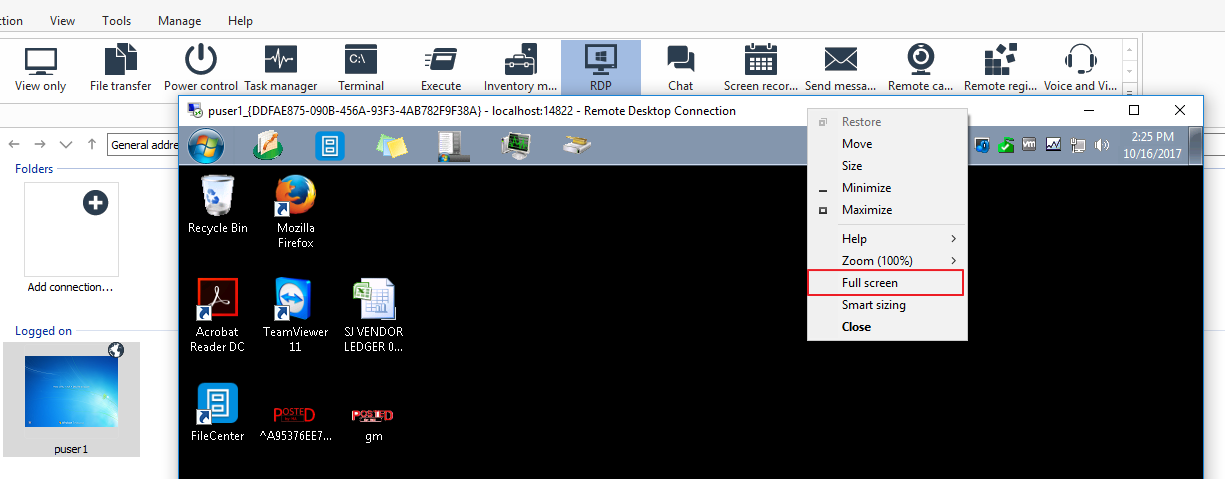
- The native RDP remote access window will open and an RDP session will start
- To view it in Full screen mode, right click on the windows bar and select Full screen.
Or another method is to right click on the connection profile, under Properties --> RDP select Configure, on Display tab, slide the slider to Full Screen and click Connection, it will force it to full screen mode for Remote Desktop Connection.


Did you find it helpful?
Yes
No
Send feedback Sorry we couldn't be helpful. Help us improve this article with your feedback.